There’s something almost magical about the moment a poached egg slips silently into a simmering bath of water-its delicate white envelope cradling a golden heart that promises a luscious, runny center. Yet,despite its seemingly simple nature,mastering the art of poaching an egg has long eluded even the most excited home cooks. Fear not: with the right technique,a touch of patience,and a trusty poacher,you can transform this culinary challenge into a daily triumph. In this guide, we’ll unravel the secrets behind perfect poached eggs-those tender, silky jewels that elevate breakfasts and brunches from ordinary to remarkable. Whether you’re a novice or a seasoned chef, get ready to crack open the science and art of poaching eggs flawlessly every time.
Choosing the Right Egg and Understanding Freshness for Ideal Poaching
Mastering the art of perfectly poaching an egg in a poacher starts with selecting the freshest eggs possible. Fresh eggs are the secret to that pristine shape and silky texture we all admire in a perfectly poached egg. When eggs age, their whites become thinner and more watery, causing them to disperse unevenly in water.
Look for eggs with clean, intact shells and, if possible, buy them from local sources where turnover is rapid. To test freshness at home,gently place an egg in a bowl of cold water: fresh eggs sink and lay flat on their sides,while older eggs tend to float.This simple test helps ensure your poached egg holds its tender white neatly around the golden yolk.
Preparing Your Poacher and Water for optimal Heat and Timing
Before diving in, make sure your poacher is clean and dry – any unwanted residue can interfere with the egg’s shine and texture. Fill your poacher with water,typically about 1 to 2 inches deep,so the egg barely submerges when cracked inside its cup or cradle.
Heat the water until it reaches a gentle simmer, ideally around 180°F to 190°F (82°C to 88°C).avoid boiling vigorously; rapid bubbles can break apart the delicate egg whites. Using a thermometer ensures perfect temperature control every time.
For added finesse, a teaspoon of vinegar in the water subtly helps the egg whites coagulate faster, creating cleaner edges without impacting flavor.
Step by Step Guide to achieving the Perfect Poached Egg Texture
- Crack the egg carefully into a small bowl or ramekin to avoid shell shards and control gentle placement.
- Gently slip the egg into the prepared poacher cup or cradle, ensuring the yolk remains intact and centered.
- Place the poacher lid on to maintain consistent heat and moisture; this helps cook the egg whites evenly while keeping the yolk soft.
- Allow the egg to poach for 3 to 4 minutes for a runny yolk; adjust by ±30 seconds for preferred doneness.
- Use a slotted spoon to carefully lift the poached egg out,letting excess water drip back before serving.
- Season immediately with flaky sea salt and freshly cracked black pepper to elevate every bite.
Troubleshooting Common Poaching Mistakes and Expert Tips for Consistency
- Egg whites spreading excessively: ensure eggs are ultra fresh; slightly cold eggs from the fridge can hold their shape better when cracked.
- Water temperature too high: Vigorous boiling means uneven poaching and ragged edges. Lower heat to maintain a gentle simmer.
- Yolk breaking: Avoid cracking eggs directly into water; use a bowl and be gentle when transferring.
- Egg sticking to poacher: Lightly grease poacher cups with olive oil or use silicone poacher inserts for effortless release.
- Uneven cooking: Covering the poacher traps steam and cooks eggs evenly; don’t skip this step.
- practice patience: Timing is crucial, but so is trusting your senses-soft whites with a tender, creamy yolk define success.
By embracing these detailed insights and tips on mastering the art of poaching an egg in a poacher perfectly, you’ll consistently create eggs that look as magnificent as they taste-ready to elevate any breakfast or gourmet dish.

Q&A
Q&A: Mastering the Art of Poaching an Egg in a Poacher Perfectly
Q1: What makes poached eggs in a poacher different from the traditional method?
A: Using a poacher allows for a more controlled habitat to cook the egg evenly without the swirling water technique. It reduces the risk of the whites dispersing and helps achieve a consistent, silky texture with a runny yolk encased perfectly in tender whites.
Q2: What type of poacher should I use to get the best results?
A: There are various styles-from silicone cups to metal inserts designed for stovetop pans. Silicone poachers provide a non-stick surface and an easy release, while metal varieties are sturdy and often come with lids for even heat distribution. Choose one that fits your usual cookware and makes cleanup easy for you.
Q3: How much water should be in the pan when using a poacher?
A: The water level should be just below the cups or compartments of the poacher, enough to create steam without submerging the eggs. Typically,1 to 2 inches (2.5 to 5 cm) of simmering water is ideal-it ensures gentle cooking through steam rather than direct boiling.
Q4: Should the water be at a rolling boil or a simmer when poaching?
A: Always poach over a gentle simmer, not a rolling boil. Vigorous boiling can jostle the poacher, causing the eggs to lose shape. A gentle simmer provides steady steam that cooks the eggs delicately and uniformly.
Q5: Is it necessary to grease the poacher cups before adding eggs?
A: Yes! Lightly greasing with butter or a neutral cooking oil helps prevent the whites from sticking and enables the eggs to slide out effortlessly when done.
Q6: How long should I poach an egg in a poacher for perfect doneness?
A: Generally, 3 to 4 minutes yields a tender white with a luscious, runny yolk. for a slightly firmer yolk, extend to 5 minutes. Timing can vary depending on your poacher’s design and stovetop heat, so testing is key.
Q7: Can I season the eggs before poaching?
A: It’s best to season after poaching to maintain the egg’s texture. A sprinkle of salt and freshly ground black pepper once plated enhances the subtle flavor without affecting the cooking process.
Q8: How do I remove the egg from the poacher without breaking it?
A: Use a small silicone spatula or spoon to gently lift the egg from the cup and slide it onto your plate. Since the inside of the cups is lightly greased,it should release smoothly without sticking.
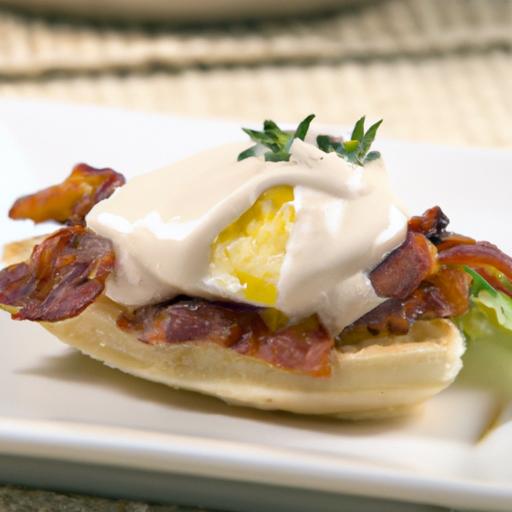
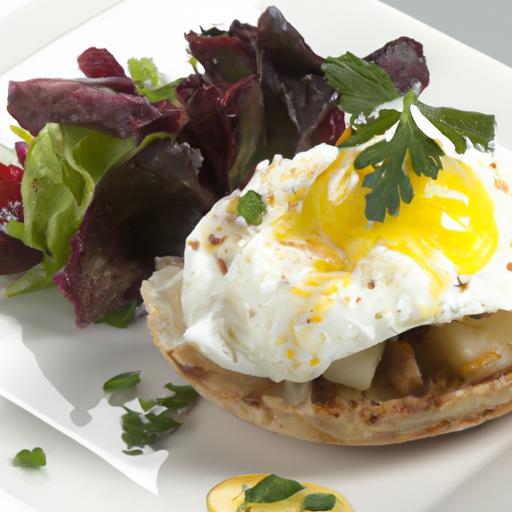
Q9: What dishes pair well with perfectly poached eggs?
A: Poached eggs shine atop toasted English muffins, sautéed greens, or roasted vegetables. They also crown hearty grain bowls, delicate salads, or smooth mashed potatoes beautifully-adding richness and that silky, golden pop of yolk.
Q10: Any pro tips for cleaning the poacher after use?
A: Soak the cups in warm,soapy water right after use to loosen any egg residue. Silicone poachers often go straight into the dishwasher, while metal ones might need a gentle scrub to maintain their finish. Avoid abrasive tools to keep coatings intact.
Mastering the egg poacher is about patience, precision, and a touch of culinary love.With these tips, your eggs will come out flawless every time-ready to elevate breakfast or brunch into an art form.
The Way Forward
Mastering the art of poaching an egg in a poacher transforms a simple cooking task into a delightful ritual, elevating breakfast or brunch to new heights. With just a few mindful steps and a touch of patience, you can achieve that silky white embrace and luscious, runny yolk every time.Remember, perfection lies in practice-and in understanding the gentle dance between heat, timing, and technique. So, armed with your poacher and newfound knowledge, embark confidently on your culinary journey, turning humble eggs into edible masterpieces that impress both palate and eye. Happy poaching!